Part of: Paying in the Philippines
You land at NAIA tired, most of a day ahead of home, and the arrivals hall is already loud with drivers offering rides. Ignore them. The airport sits close to the city, and the ride you want is waiting quietly in an app you set up before you boarded. Handle two things ahead of time and the first hour handles itself.
You don’t need a plan for the whole trip yet. A working phone and a ride you can trust will do, plus the nerve to walk past the first person who shouts a fare at you.
The first hour
Set up your ride before you fly
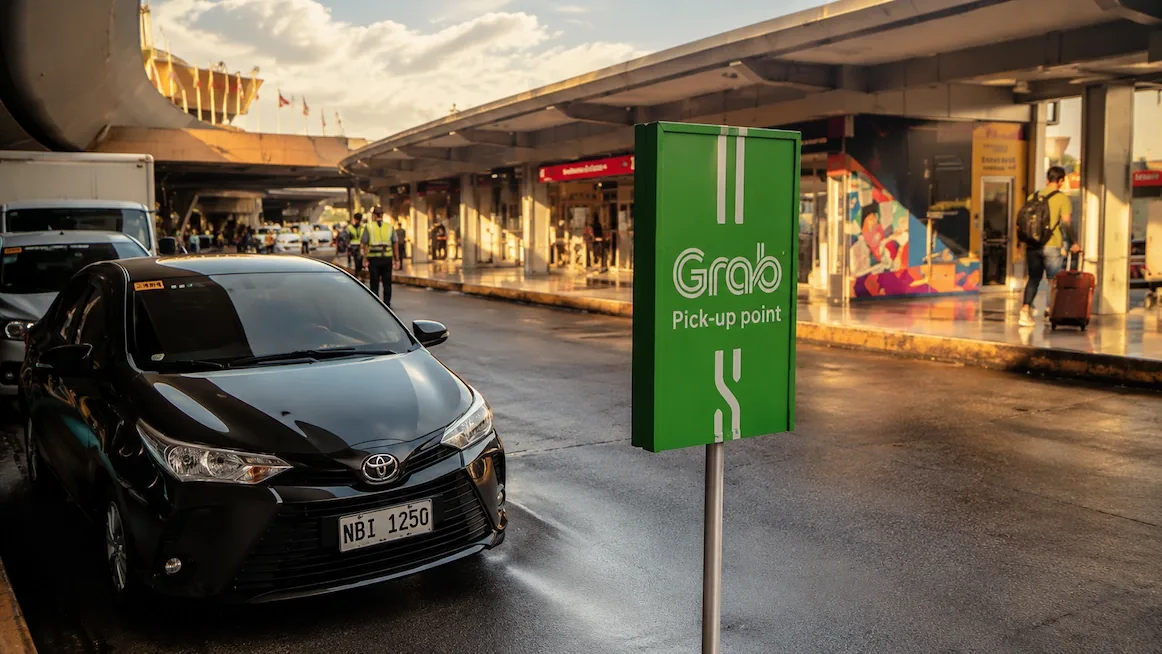
Grab is how Manila moves, and the app wants a phone number to verify by text before it will call a car. Set it up at home, on your own signal, so a blocked airport code never strands you. Every NAIA terminal has a marked Grab pickup point outside arrivals. Walk straight to it and skip the drivers calling out fares.
Get a SIM before you land
You want data the moment you clear the doors, for the map, the ride, and the messages waiting. Install a Globe or Smart eSIM before you fly and it switches on when you land, or buy a physical SIM at the arrivals counters in Terminals 1 and 3. Either way, get it registered and topped up before you step outside.
Skip the airport money changer
The counters right at arrivals give you the worst rate you will see all trip. Change only what you truly need for the first day, if anything, and handle the rest in the city, where the malls and dedicated changers are kinder. Grab takes card or GCash anyway, so you can reach your bed without a thick wad of pesos.
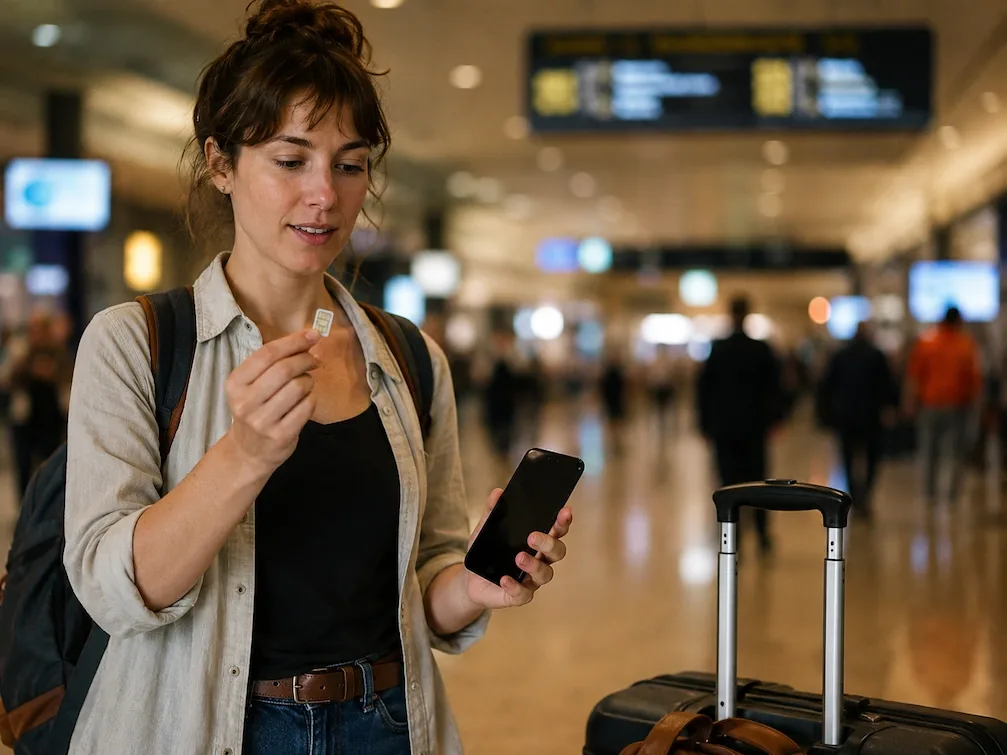
Every fare shouted at you in an arrivals hall costs more than the one waiting in the app.
Mistakes to avoid
Assuming the terminals are close together
NAIA has four and they aren't walking distance apart. Most international flights use Terminal 1 or Terminal 3, Philippine Airlines uses Terminal 2, and a terminal-to-terminal connection needs real time, not a hopeful ten minutes.
Setting up Grab on the airport wifi
The app verifies a phone number by text, and a blocked airport code can strand you at the worst possible moment. Install it and sign in at home, on your own signal, before you ever board.
Following the fares shouted in arrivals
The drivers calling out prices usually cost more than the marked Grab pickup outside every terminal, which locks your fare in the app before you ride. The yellow airport taxis are the metered fallback.
Changing all your money at the airport
The arrivals counters give you the worst deal of the trip. Change only what the first day genuinely needs, if anything, and handle the rest at a city changer or a mall once you're rested.
Common questions
Which terminal will I land at?
NAIA has four terminals, and they are not walking distance apart. Most international flights land at Terminal 1 or Terminal 3, Philippine Airlines uses Terminal 2, and small domestic carriers use Terminal 4. Check your airline before you fly, and if you connect between terminals, allow real time for it.
Do I need pesos the second I land?
Not really. Grab bills your card or GCash in the app, so you can get to a Makati or BGC bed without a wad of pesos on you. Pull a little cash from a terminal ATM for jeepney and small-stall money if you like, but skip the arrivals-hall money changer, whose rate is the worst you'll see all trip. Handle the bigger exchange in the city.
Is the airport taxi a rip-off?
The drivers calling out fares in the arrivals hall usually are, yes. Walk past them. Every NAIA terminal has a marked Grab pickup point outside, where the fare is set in the app before you get in, and the airport-authority yellow taxis are a metered fallback. Both beat a negotiated 'special' price when you're tired and new to the city.
eSIM or a SIM at the airport?
Set up an eSIM before you fly if your phone takes one: Globe or Smart, activated on landing, so the map and Grab work the second you clear the doors. If you'd rather have a physical SIM, the arrivals counters in Terminals 1 and 3 sell them; just have it registered and loaded before you walk out into the touts.